Primer Bulb Not Working? The £4 Check Valve That's Probably Cracked
Date Released: 30 Jan 2026 Category: Blog
Time to start your mower. You push the primer bulb three or four times like always, and... nothing happens. Instead of that satisfying resistance and seeing fuel move through the clear bulb, you get a sad, deflated blob of plastic that does precisely nothing.
You try again. Still nothing. The bulb just collapses limply under your finger, there's no fuel moving anywhere, and the engine won't start.
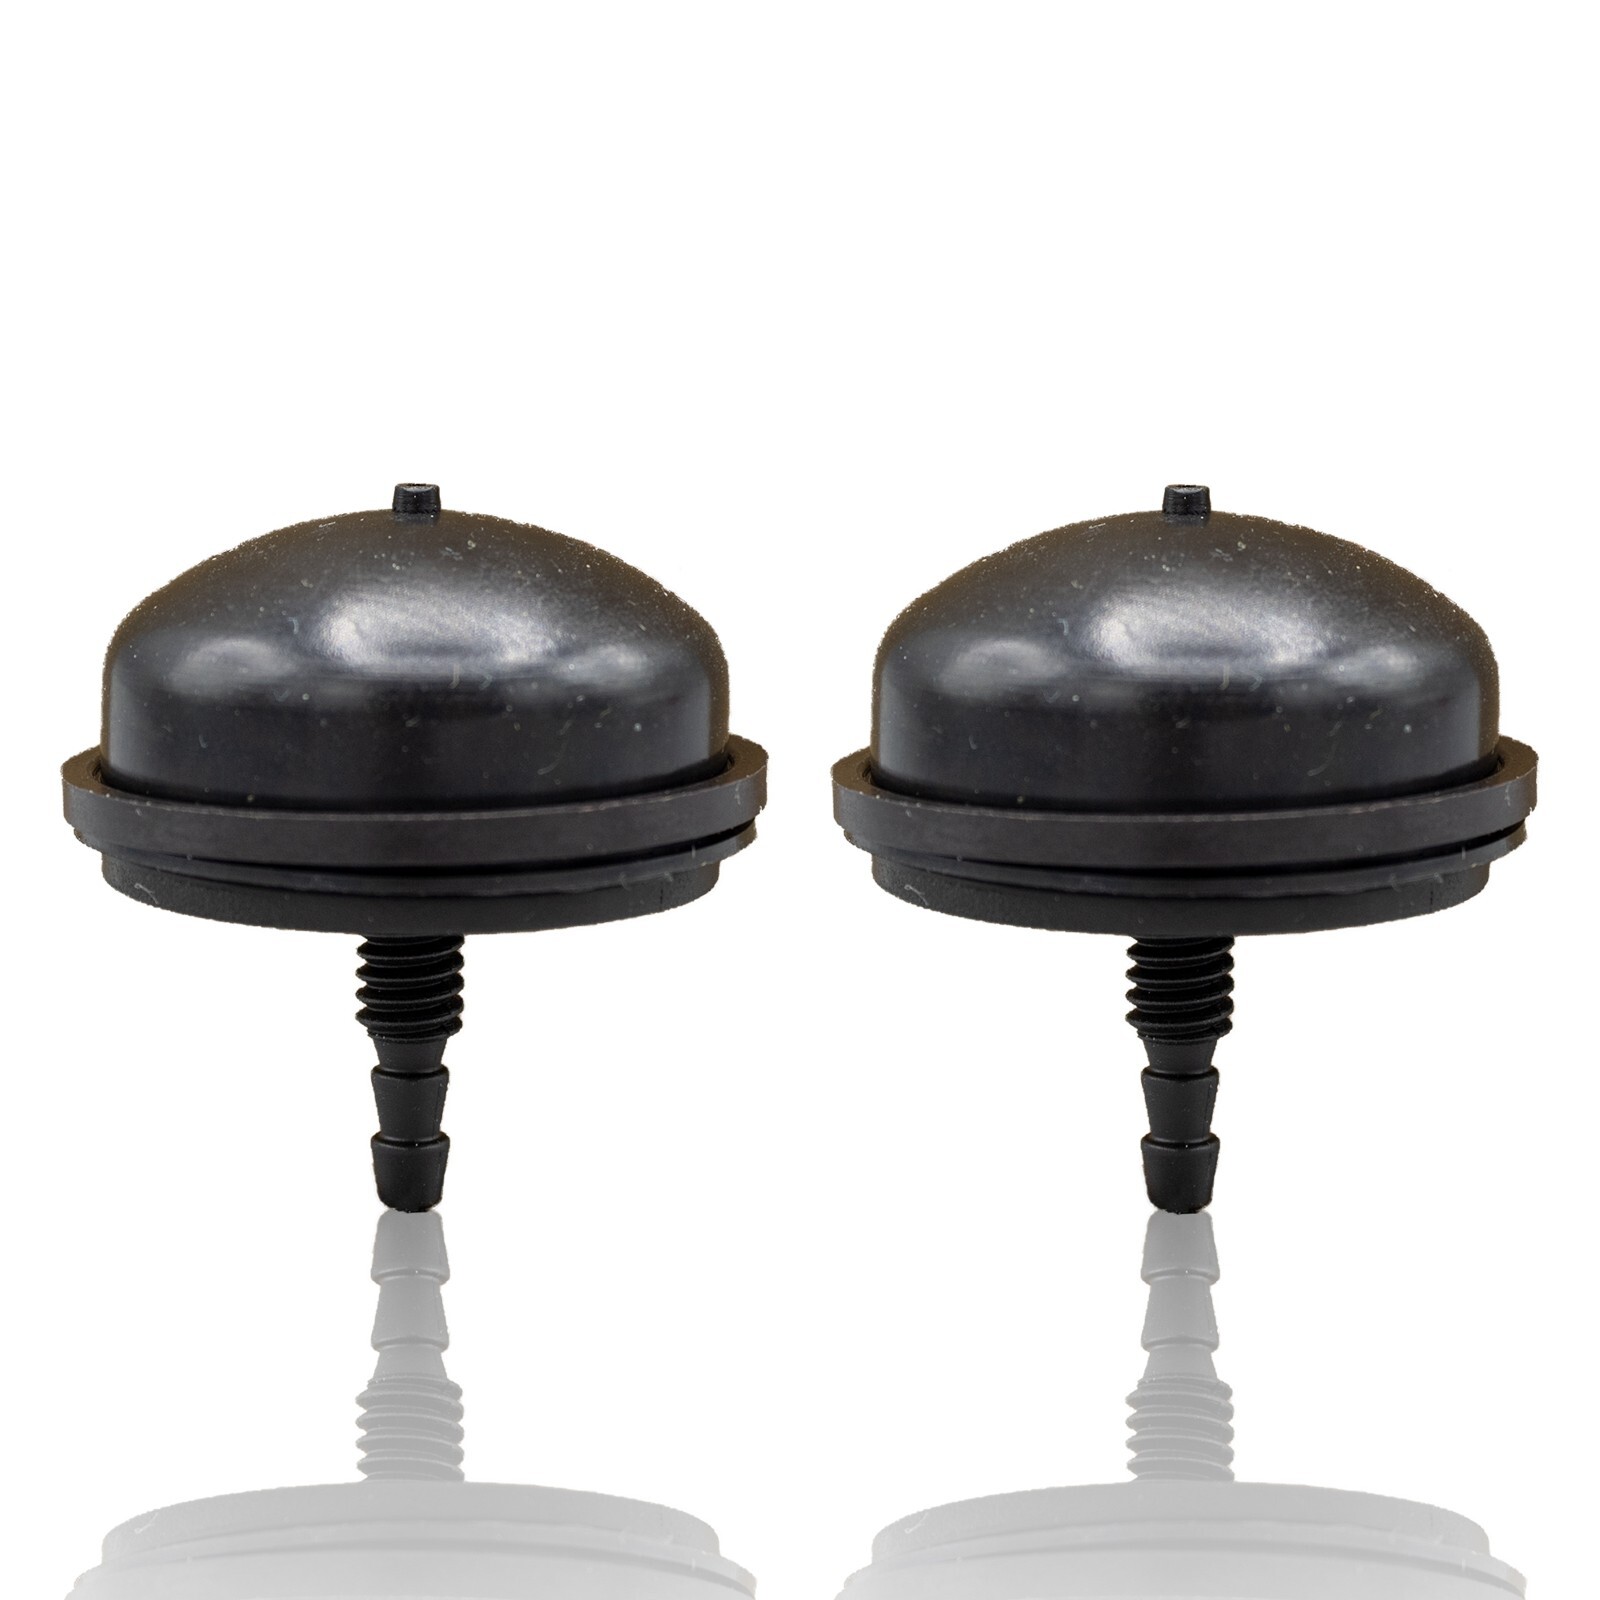
Here's the thing: before you start diagnosing complicated fuel system problems, there's a tiny plastic component that's almost certainly the culprit. It's called a check valve, it costs about £4, and replacing it is genuinely one of the simpler fixes you'll ever do.
The system works through two check valves (one-way valves) that control fuel flow. When you press the primer bulb, fuel is forced through one valve into the carburetor. When you release the bulb, it draws fresh fuel from the tank through the other valve, refilling the bulb ready for the next push.
When one of these check valves fails, the system can't maintain pressure. You push the bulb but fuel either doesn't move or just sloshes back and forth without actually going anywhere useful.
Ethanol in modern fuel attacks rubber and plastic components. The valve material swells, cracks, or deteriorates over time.
Physical damage happens easily because they're plastic. Drops, knocks, or even vibration from normal use can crack them. Most check valves fail within 3-5 years of regular use, sooner if equipment sits unused with fuel in the system.
The primer bulb collapses when you push it but doesn't pump back up with resistance. It feels "dead." No fuel movement visible through the clear bulb when you press it. The bulb stays collapsed, slowly re-inflating rather than snapping back. Air bubbles moving through but no fuel flow. The engine won't start even after multiple primer pushes.
Often both valves are combined in a single small plastic housing that clips into the fuel line. Sometimes they're separate.
To test them, remove the assembly and blow through each valve. Air should flow one way but not the other. If it flows both ways or not at all, it's failed.
Honestly though, if you're testing them, just replace both. They're cheap, and if one's failed, the other isn't far behind.
Disconnect the fuel lines from the primer assembly. Have a rag handy because fuel will drip. Remove the old check valve assembly. On some models, it clips out. On others, it's part of a rubber primer bulb assembly that comes as one unit. Clean the area where the valve sits. Any old fuel deposits or debris will cause the new valve to fail prematurely. Install the new check valve, making sure it's oriented correctly. There's usually an arrow showing fuel flow direction. Get it backwards and it won't work at all. Reconnect the fuel lines and make sure everything's secure with no leaks. Prime the system by pushing the bulb until you see fuel moving through properly. It might take 10-15 pushes to fill all the lines initially. Test start the engine. With a working primer, it should fire up after a few pulls.
A check valve or primer assembly costs £3-8 depending on the engine model. Sometimes the primer bulb itself is included in the kit, sometimes it's separate.

The fuel line is blocked or kinked. Check the entire fuel path. The fuel filter is clogged. If you haven't replaced it in years, it's overdue. There's an air leak in the fuel system. Check all connections for tightness. The primer bulb itself is split or cracked. The fuel tank vent is blocked. The vent (usually in the cap) needs to allow air in.
Use fresh fuel. Don't let it sit unused for more than a couple of months. Add fuel stabiliser if storing the equipment. Run the carburetor dry before long-term storage. Replace the fuel filter annually. Prime gently - firm, smooth presses are enough.
A repair shop will charge £30-50 for parts and labour. When the part costs £4 and the job takes 10 minutes, you're paying £25-45 for something you could easily do yourself.
The £4 part saves you all this hassle. Replace it and move on. Your engine will start reliably, you won't need starting fluid, and you can get on with using your equipment instead of fighting with it.
A primer that won't work is almost always a failed check valve. Replace it, don't overthink it, and get back to work.
You try again. Still nothing. The bulb just collapses limply under your finger, there's no fuel moving anywhere, and the engine won't start.
Here's the thing: before you start diagnosing complicated fuel system problems, there's a tiny plastic component that's almost certainly the culprit. It's called a check valve, it costs about £4, and replacing it is genuinely one of the simpler fixes you'll ever do.
What the Primer System Does
On most modern Briggs engines, the primer bulb is your starting aid. When you push it, you're pumping a small amount of raw fuel directly into the carburetor, enriching the mixture for cold starting. It's much simpler and more reliable than the old-fashioned choke systems.The system works through two check valves (one-way valves) that control fuel flow. When you press the primer bulb, fuel is forced through one valve into the carburetor. When you release the bulb, it draws fresh fuel from the tank through the other valve, refilling the bulb ready for the next push.
When one of these check valves fails, the system can't maintain pressure. You push the bulb but fuel either doesn't move or just sloshes back and forth without actually going anywhere useful.
Why Check Valves Fail
Old fuel leaves deposits that gum up the valve mechanism. Petrol sitting unused over winter leaves varnish-like residue that glues the valve closed.Ethanol in modern fuel attacks rubber and plastic components. The valve material swells, cracks, or deteriorates over time.
Physical damage happens easily because they're plastic. Drops, knocks, or even vibration from normal use can crack them. Most check valves fail within 3-5 years of regular use, sooner if equipment sits unused with fuel in the system.
The Telltale Signs
Finding the Failed Valve
Most Briggs engines have two check valves: the inlet valve draws fuel from the tank when you release the bulb, and the outlet valve pushes fuel into the carburetor when you press it.Often both valves are combined in a single small plastic housing that clips into the fuel line. Sometimes they're separate.
To test them, remove the assembly and blow through each valve. Air should flow one way but not the other. If it flows both ways or not at all, it's failed.
Honestly though, if you're testing them, just replace both. They're cheap, and if one's failed, the other isn't far behind.
The Replacement Process
Replacing primer check valves is straightforward:A check valve or primer assembly costs £3-8 depending on the engine model. Sometimes the primer bulb itself is included in the kit, sometimes it's separate.
When It's Not the Check Valve
To Stop it Happening Again ...
DIY vs Professional
This is very much DIY-friendly. You're replacing a small plastic component that clips into the fuel line. No special tools, minimal disassembly.A repair shop will charge £30-50 for parts and labour. When the part costs £4 and the job takes 10 minutes, you're paying £25-45 for something you could easily do yourself.
The Bottom Line
You can't ignore a failed check valve. Without it, the primer doesn't work, and without the primer, cold starting is extremely difficult. Some people work around it by spraying starting fluid into the carburetor. This works, but it's not great for the engine and it's inconvenient every time.The £4 part saves you all this hassle. Replace it and move on. Your engine will start reliably, you won't need starting fluid, and you can get on with using your equipment instead of fighting with it.
A primer that won't work is almost always a failed check valve. Replace it, don't overthink it, and get back to work.